# 4.4. Using UB-CCR OnDemand and Jupyter Notebooks
# Using Jupyter Notebooks via the UB CCR
Brendan Smith, Akimov Group
The following is a set of instructions for accessing and using Jupyter Notebooks on the UB CCR
# Table of contents
1. [Step 1: Connect to the UB Network](#Step1)
2. [Step 2: Login to the UB OnDemand Portal](#Step2)
3. [Step 3: Accessing the CCR](#Step3)
4. [Step 4: Loading Jupyter Notebook](#Step4)
5. [Connecting to Libra](#libra)
## Step 1: Connect to the UB Network <a name="Step1"></a>
In order to use Jupyter Notebooks via the UB CCR, one must be connected to the UB network. The network can be accessed via the UB-VPN if one is working remotely.
[Connect to the UB-VPN](http://www.buffalo.edu/ubit/service-guides/connecting/vpn.html)
Read the documentation and follow the instructions.
## Step 2: Login to the UB OnDemand Portal <a name="Step2"></a>
Once connection to the UB network has been established, login into the UB OnDemand portal.
[UB-CCR OnDemand Portal](https://ubccr.freshdesk.com/support/solutions/articles/13000039875-ccr-ondemand-portal)
Click the blue text “Login to CCR OnDemand”, near the top of the article.
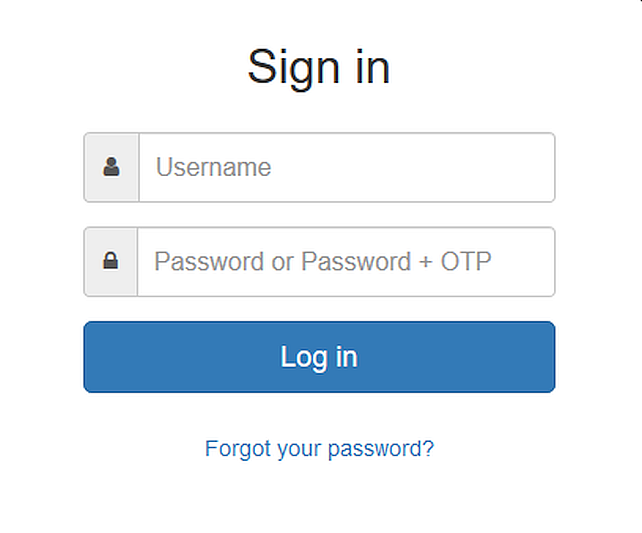
*Note: It looks like if one is not connected to the UB network, this link will not work. Once the website has loaded, the following should appear:
<br/>
<br/>
Login by providing your UB CCR username and password.
*Note: This is not your general UB username and password, but your UB CCR username and password.
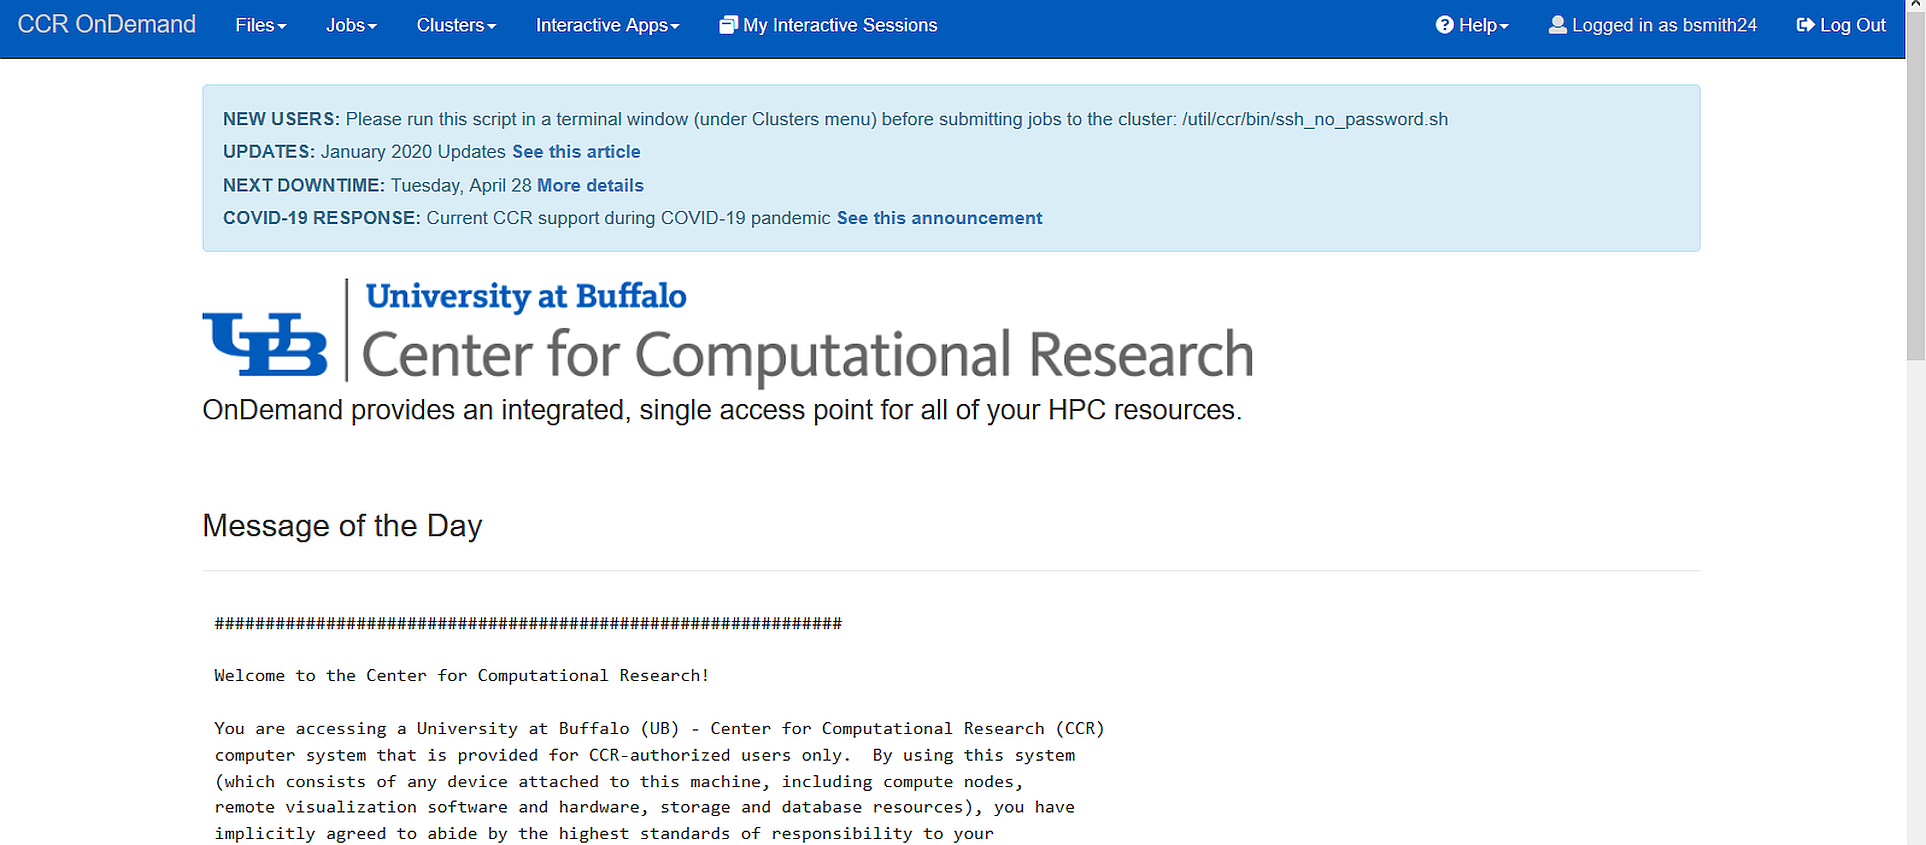
Once successfully logged in, something similar to the following should appear,
<br/>
<br/>
This should look familiar, as it is the message displayed from the CCR when one usually accesses the UB CCR through Putty or Xshell.
## Step 3: Accessing the CCR <a name="Step3"></a>
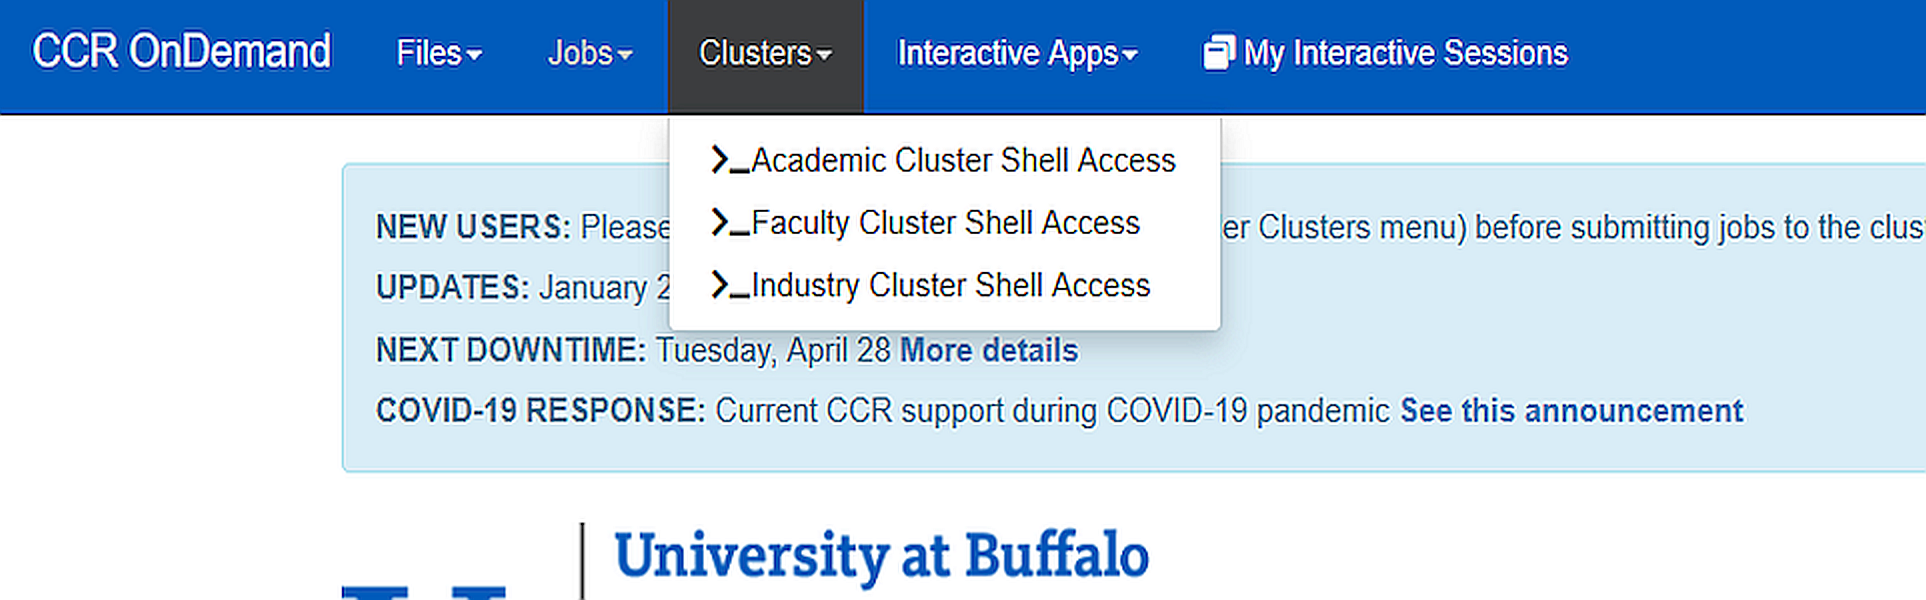
Now that we have successfully accessed the UB CCR via the UB OnDemand portal, we must gain access to a cluster shell. To do so, click on the “Clusters” table in the menu bar at the top of the webpage (the prominent blue horizontal bar at the top). This will trigger a drop-down menu to appear, as follows:
<br/>
<br/>
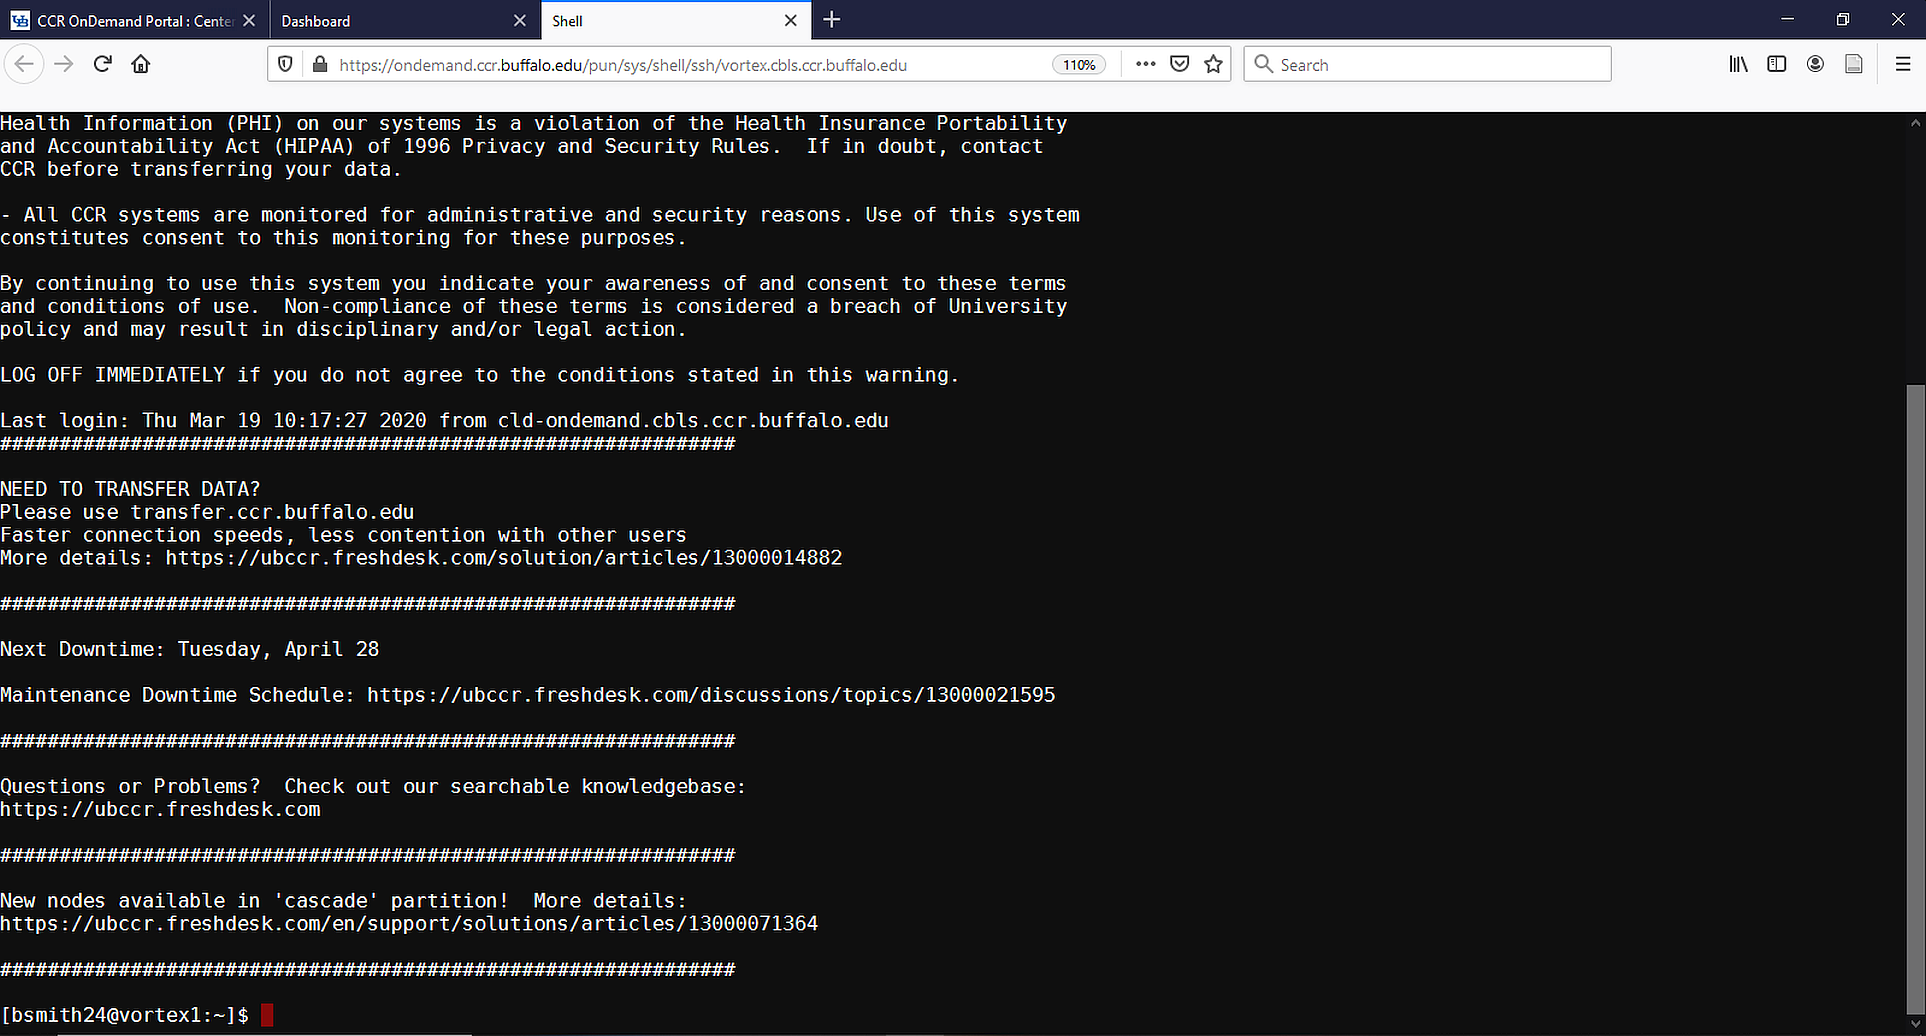
One can now choose which cluster they would like to access. For this tutorial, we will use the Akimov Group’s Valhalla partition, which is located on the Faculty cluster. For others, it may be best to choose the Academic cluster for now. So, please choose your desired cluster. This will trigger a new tab to open in your browser, and it will be effectively what you see if you were to access the CCR normally (without using the OnDemand portal). Clicking on the newly opened tab yields:
<br/>
<br/>
The reason why we have requested cluster access first before opening the Jupyter Notebook is because the Jupyter Notebook features do not allow one to migrate from the home directory.
In this tutorial, the home directory is /user/bsmith24
However, most of my relevant files are located at: /gpfs/scratch/brendan/
Therefore, in order to access this folder from my home directory, we need to create a link to it. This can be done via:
`ln -s /gpfs/scratch/brendan/`
Now, we can see the folder “brendan” in our home directory (you will see something different - hopefully :) ). Any changes we make WITHIN this folder will be present in the actual /gpfs/scratch/brendan/ location. However, deleting this link from our home directory will not delete any of the data present in the actual folder. We can delete the link to the actual folder by executing:
`rm brendan`
**WARNING – do not remove with “rm -r”. It may be the case that this will delete the actual contents in the real directory. Just simply remove the link with “rm”**
So, let’s create the link to our project’s directory via:
`ln -s <PATH_TO_PROJECTS_DIRECTORY>`
## Step 4: Loading Jupyter Notebook <a name="Step4"></a>
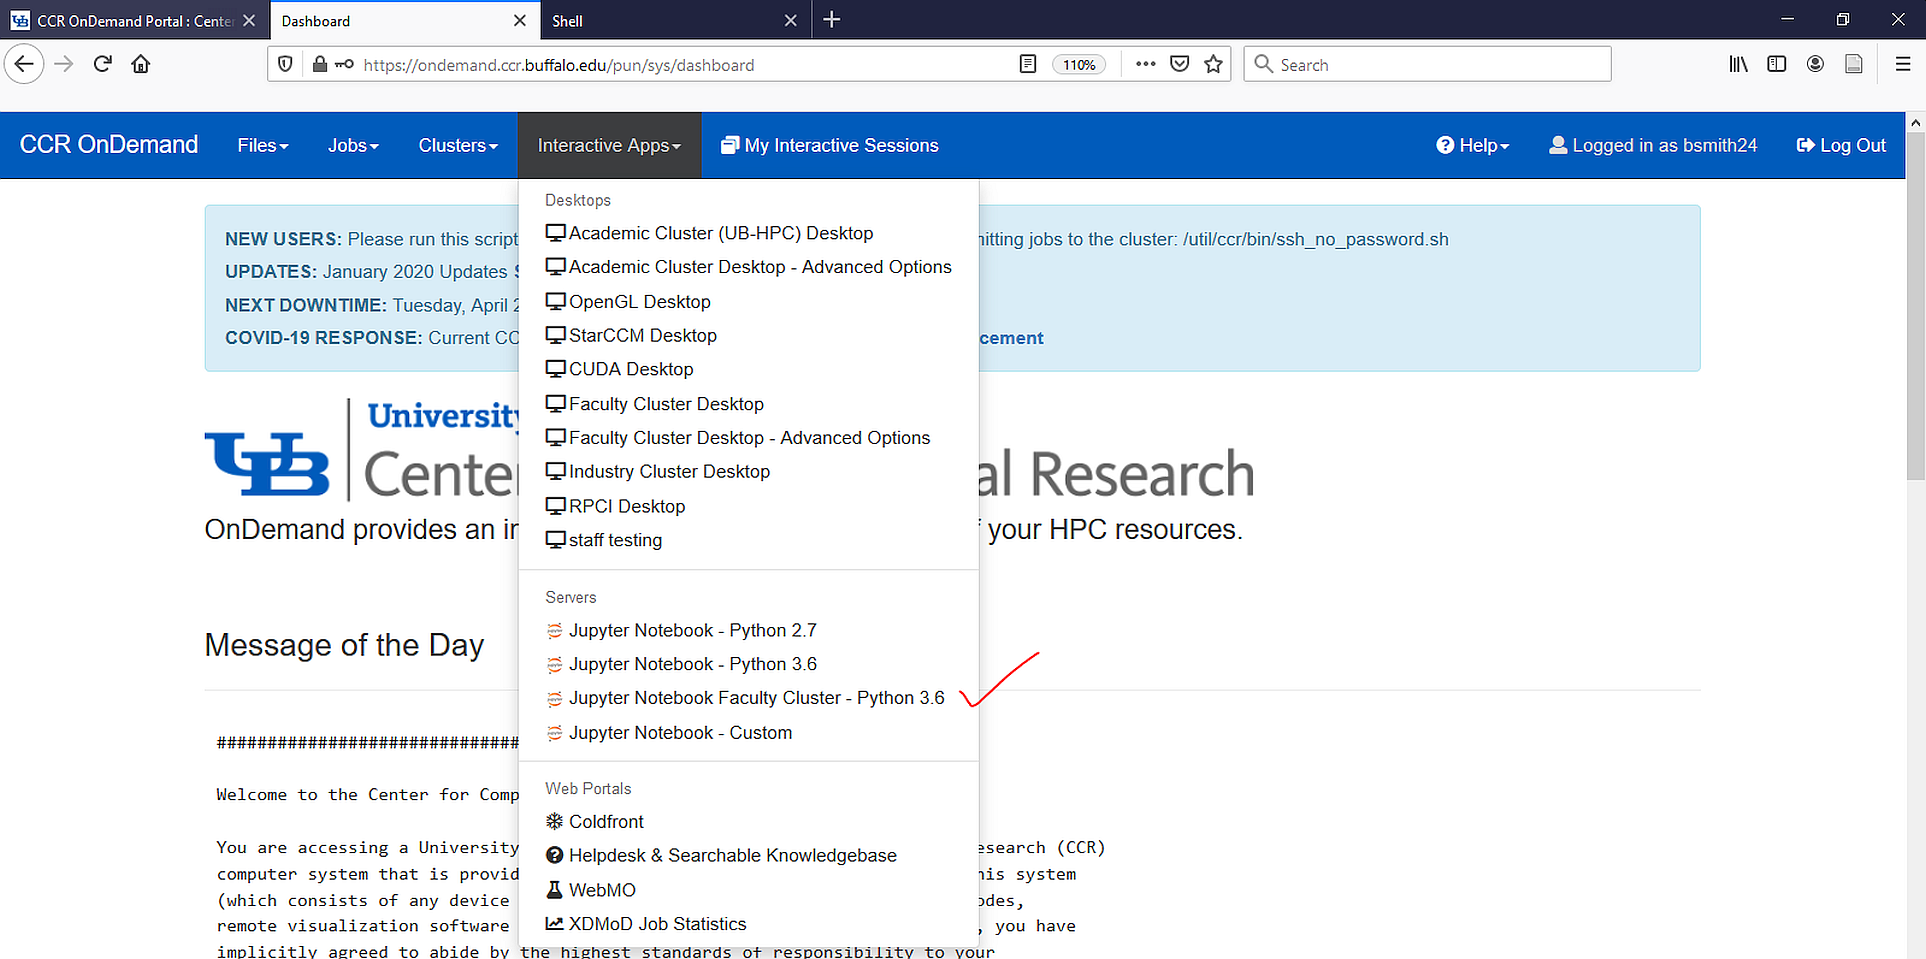
For now, keep the tab with the active cluster shell open. To load the Jupyter Notebook, return to the OnDemand Dashboard (previous tab) and select from the menu bar, “Jupyter notebook Faculty Cluster – Python 3.6” – it is where I have drawn the red checkmark on the following image.
<br/>
<br/>
Now, one could create a custom notebook for a different python version (3.7). For now, we will just use version 3.6
This will trigger a new page that essentially formulates a job script. This “job” will be submitted and will be your live Jupyter notebook session. For now, please submit the following:
Slurm Account:
Partition valhalla
QOS valhalla
Number of hours 24
Number of nodes 1
Number of Cores 4
Amount of Memory Per Node 10,000
Preferred email address
This will open a Jupyter notebook session with 24 hours of access to one node, four cores and 10 Gb of memory.
*Note: I had to keep the entry for “Slurm Account” blank. Please give your desired email address as the entry for “Preferred email address”
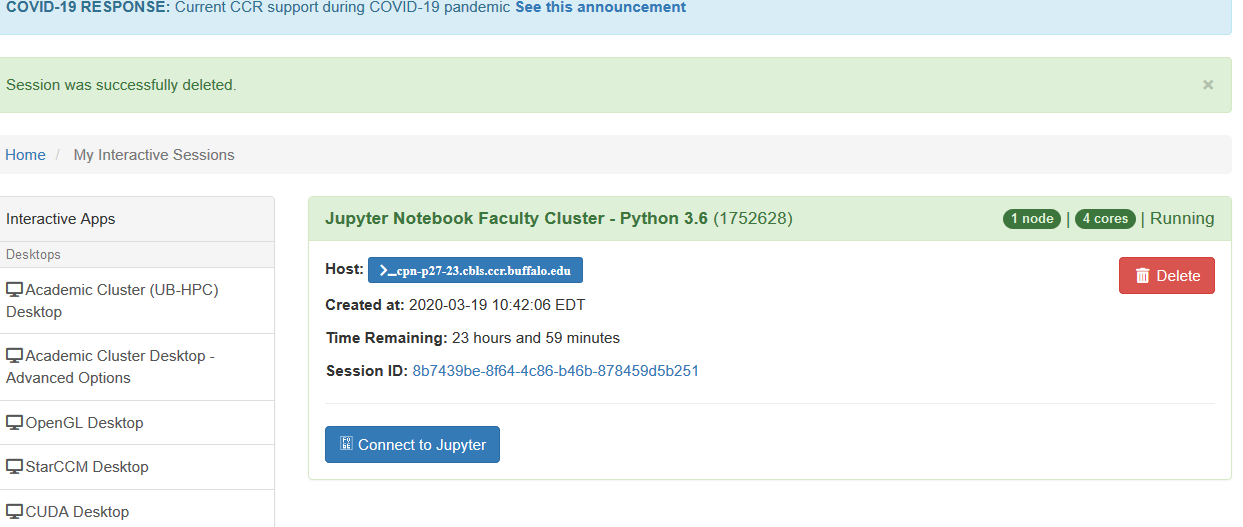
After filling out the requested entries, scroll to the bottom of the webpage and press “Launch”. After some time preparing the Jupyter Notebook, the following should be seen.
<br/>
<br/>
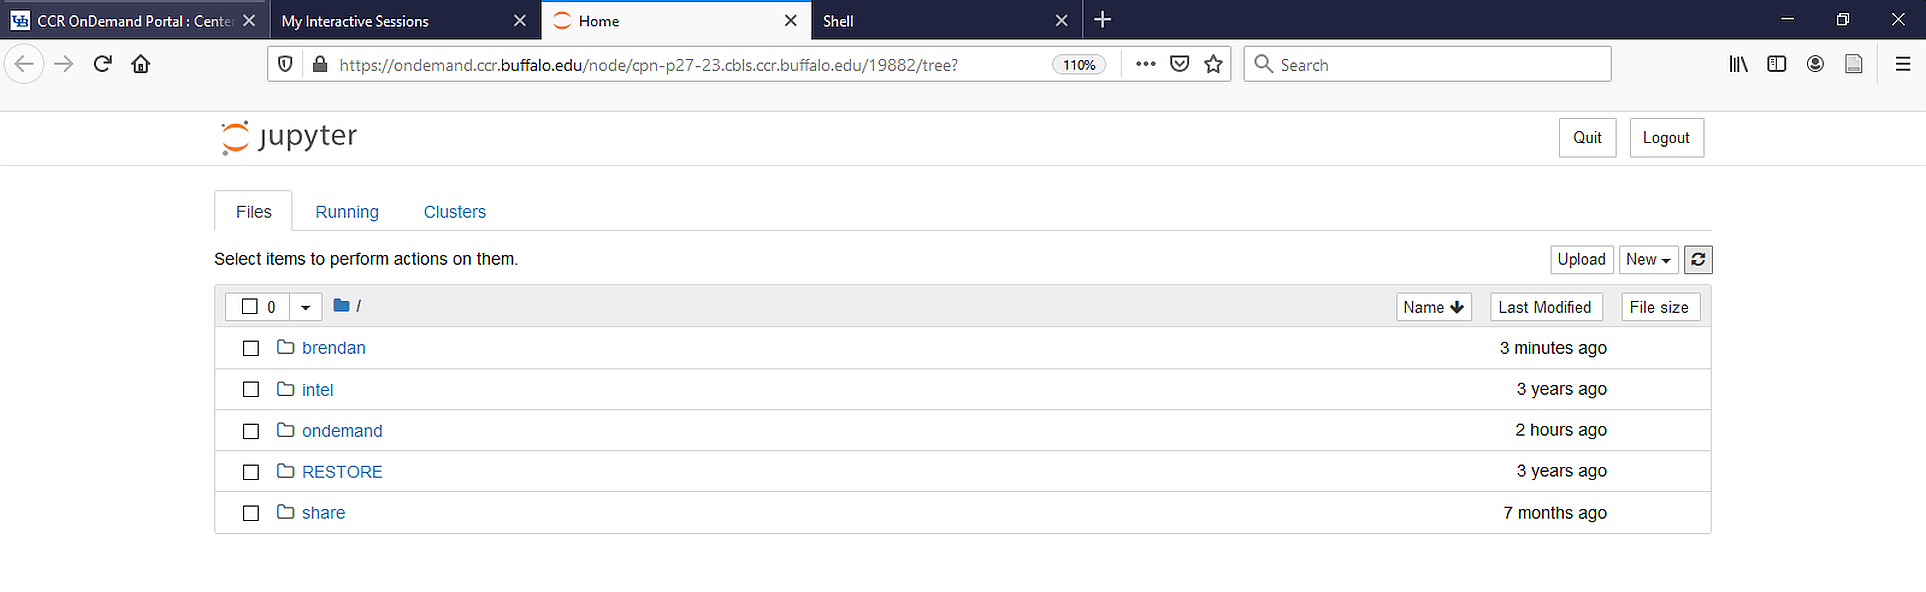
As we can see, there are approximately 24 hours remaining for our session. To launch the Jupyter Notebook, press “Connect to Jupyter”. This will trigger a new tab to be opened. The following should be seen.
<br/>
<br/>
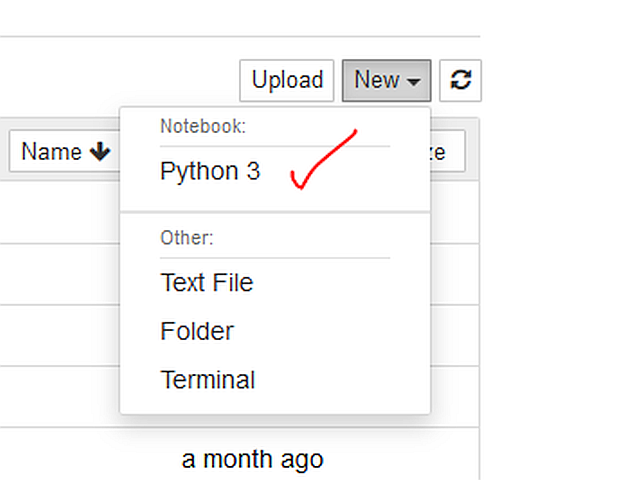
Here, we can see the link to the desired directory we created. Open the folder, and once inside, create a python file by clicking on the “New” tab (top right-ish). This will prompt a scroll down menu, from which you can select “Python 3”
<br/>
<br/>
One can now use the Jupyter Notebook via the CCR.
## Connecting to Libra <a name="libra"></a>
In order to connect to Libra, one MUST have the anaconda environment initiatred by their .bash_profile. Also, the .bash_profile should contain all necessary paths to Libra. Here is an example .bash_profile:
<br/><br/>
source .bashrc
source activate py37
export PYTHONPATH=/gpfs/scratch/brendan/Libra/_build3/src/:$PYTHONPATH
export LD_LIBRARY_PATH=/gpfs/scratch/brendan/Libra/_build3/src/:$LD_LIBRARY_PATH
<br/><br/>
For the bashrc, the anaconda installation should automatically update it. Please double check your .bashrc to make sure it is ok.
We should now be able to import Libra in the Jupyter Notebook. If you are just configurating the .bash_profile now, you will need to close the current Jupyter Notebook server and open a new one.
Testing to see if Libra can be importing is done as shown below:
<br/>
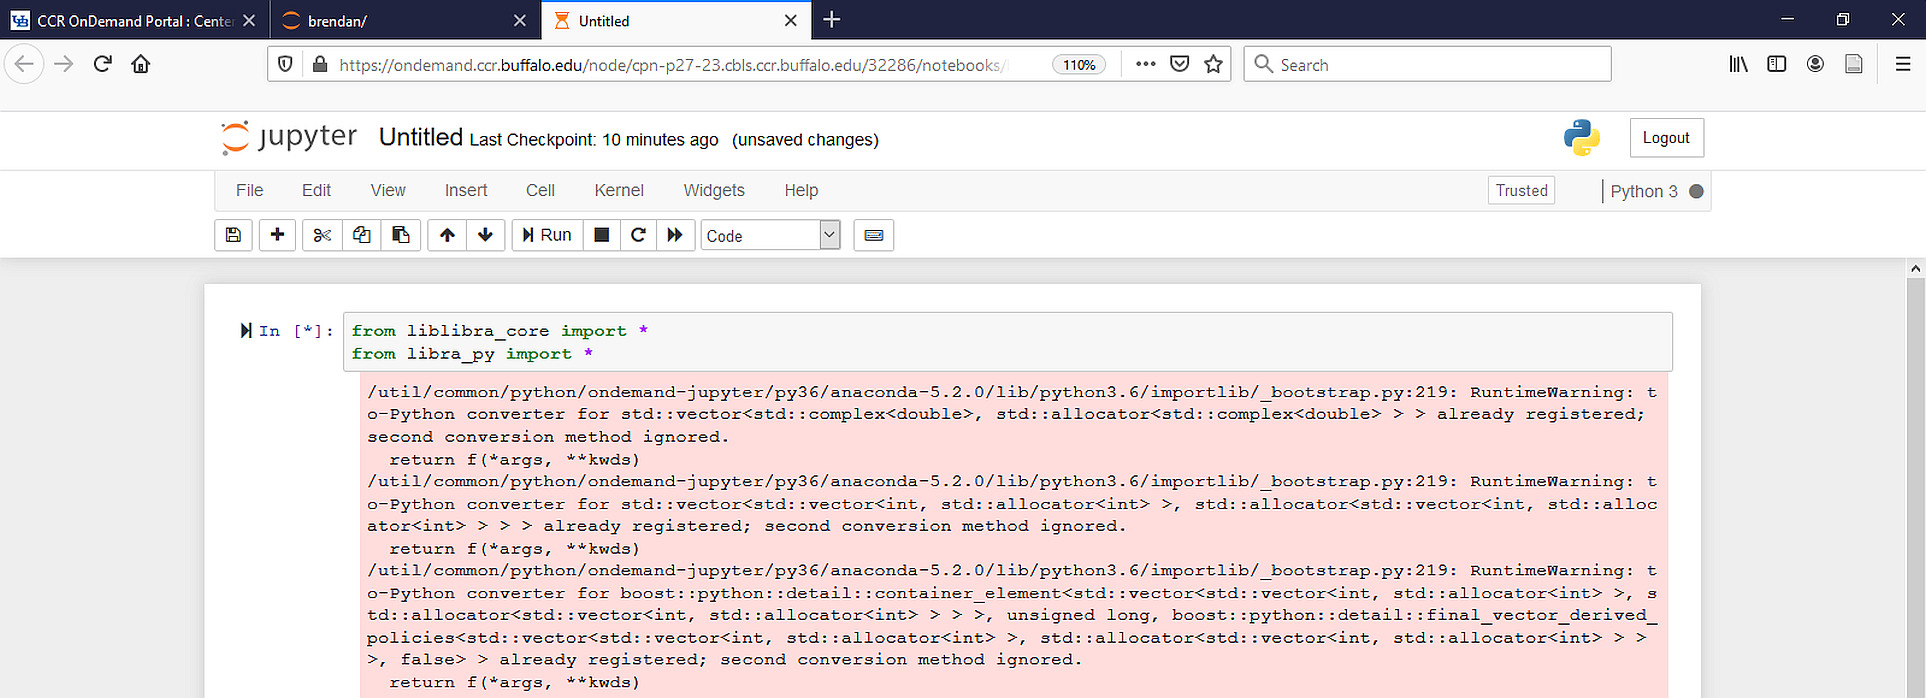
<br/>
The notebook is run by doing: Cell -> Run All
We test a small ability of Libra for further verification
<br/>
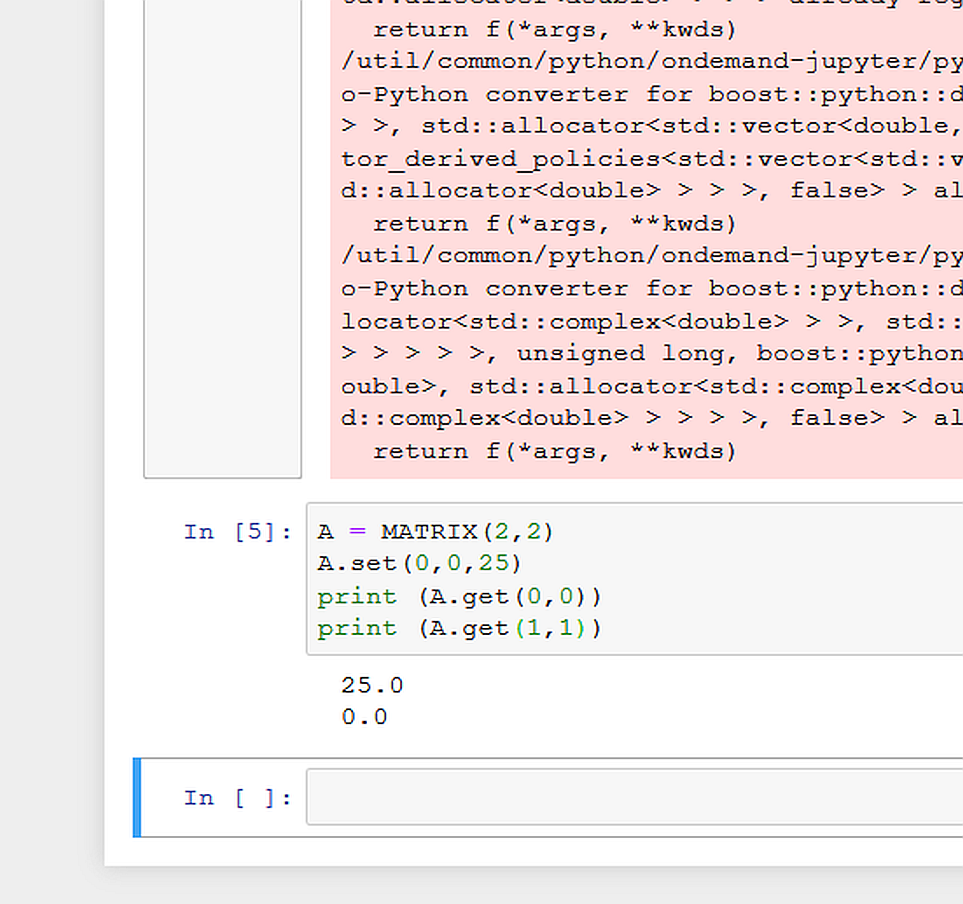
<br/>